Hardware:
Dual Printed Circuit Board (Radio Shack #276-148)Round Tact Buttons (Adafruit #1009)
Joystick Breakout Board (Adafruit #512)
9-Position Male D-Sub Connector (Radio Shack #276-1537)
6' Serial Cable (Radio Shack #26-1402)
#4-40 x 3/8" Bolts
#4-40 x 1/2" Bolts
#6 Washers
Creating the Case:
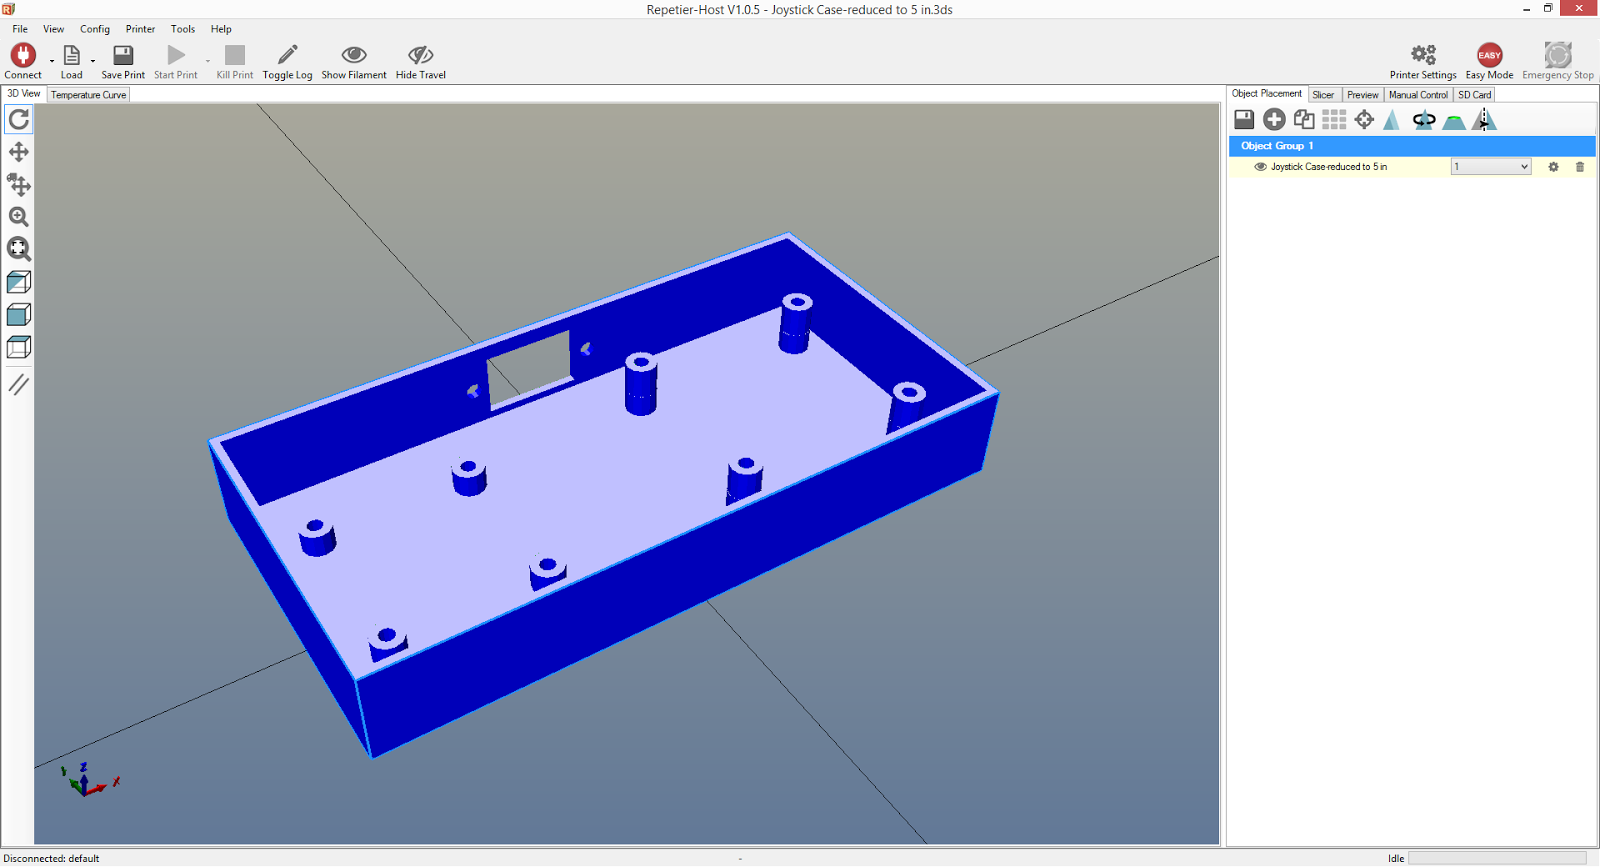
I used Sketch Up to create a case. The case includes extruded mounts for the two boards and an opening for the serial connector:
The lid for the case:

The extrusions at the 4 corners of the lid are so it doesn't have any play room to rotate or slide around the case. The extrusion in the middle is so I can put a set screw to secure the lid onto the case. It is opposite of the serial cable connection.
I used Repetier / Slic3r to create the G-code of my case:


Well, one more hour for the lid.


(There are all sorts of tips and tricks out there on how to get the first layer to stick to the print surface. I've found double sided tape to work very well. It's cheap and it easily comes off the finished part.)
I basically had to monitor the print for the entire 4 hours, someone is very interested in the printer...

Wiring:
The brains of the joystick will be with the Arduino. The joystick itself is basically just a collection of buttons and potentiometers wired to a serial cable.Wiring Schematic:

Created with http://www.digikey.com/schemeit
The pin layout for the serial cable is as follows:
#1 S1 (Stick Select Button)
#2 S2 (Right Button)
#3 S3 (Top Button)
#4 S4 (Left Button)
#5 S5 (Bottom Button)
#6 Vcc
#7 Analog Xout
#8 Analog Yout
#9 GND
I wired the Vcc from the D-Sub connector to the button board - then I jumped the Vcc from the button board to the analog stick board. This helped keep the wire area around the connector clean and simple. Photo of the back so that makes sense...

In the photo above you can see the Vcc long bare wire that makes connections across all the buttons.
The final product!
Lid off:
Lid on:

I was expecting to needs nuts for the mounting bolts, so I designed the case with the holes going all the way through. However I've found the #4 bolts fit snugly in the 1/8" diameter holes and no nuts were necessary. I did need a few washers for the bolts on the analog stick board as the 3/8" length bolts were too long and would protrude out (I suppose I could have found shorter bolts or dremeled the bolts in half, but washers were easier.)

Lessons Learned:
The case came out pretty well, but there are a couple items that could be improved upon:#1 Probably the most significant change needed is the analog stick. When in the neutral position it looks great, but as the stick tilts you can see behind the analog's cone cover. To prevent that, I need to have the overall case be thicker so I can put the lid higher over the analog stick. With the lid higher, I'd be able to use a smaller hole that closes around the analog stick's cone cover. Then as the stick tilts you wouldn't be able to look inside the case. I'd rather not have the controller be any bulkier though and really that's getting pretty nit-picky. For my purposes it's not a big deal.
#2 I could have gone a bit fancier with how the lid fits onto the case. Maybe cut some gaps in the case that the lid notches / snaps into? I'll think about it. The lid fits a bit tight right now. I need to give the lid's extrusions probably 1/16" or 1/32" clearance from the edges of the case so it fits in better and doesn't try to bow out.
This is just the first joystick; I've purchased enough parts to build a second for multiplayer. I'll give this first one some use and think about more tweaks before I construct the second.
Next up, the joystick wiring at the Arduino!
No comments:
Post a Comment