One of the worst purchases you can make is an airplane... and a kit airplane doubles-down on that stupidity. But alas, it seems as though I'm likely doing that.
I love the looks, characteristics, performance, and price of the Zenith CH-650 aircraft. And constructing it myself seems like the ultimate build challenge. (Not having to keep a medical to fly one and being able to conduct my own maintenance are also great bonuses.)
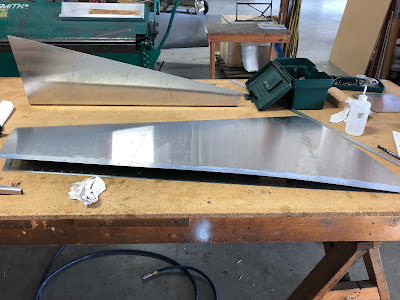
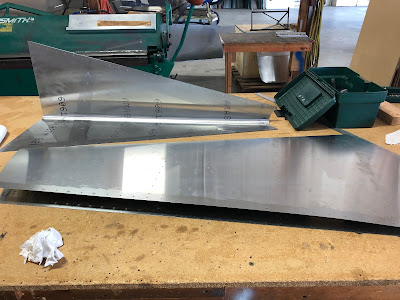
This past month I went to one of the Rudder Workshops that Zenith Aircraft hosts where potential builders/buyers come out and construct a rudder (under the guidance of Zenith employees). In addition to the great education of how to build the plane, you get a demo flight in your desired aircraft. The visibility in it is amazing, and it is the fastest to build from all kits I considered. I figured even if I decided not to go with the aircraft, the Rudder Workshop would still be a ton of fun (and I'd have a piece of an aircraft to hang on my wall!).
In some of Zenith's other aircraft kits, they have predrilled matched holes for incredibly quick construction. They're working towards but not yet have that for the CH-650. I mostly had pilot holes in one piece as a guide for where to drill, but I was still way slower than the other participants that had the CH-701/CH-750 matched holes. After fitting, drilling, and clecoing (temporary holders to keep pieces together) components, I had to completely disassemble them to deburr metal shavings (caused from drilling) and apply anticorrosion (as I live near salt water). Then reassembly but this time rivet.
About to begin...


No comments:
Post a Comment