I really like the Diablo 1 / Diablo 2 art style, but I don't have the time or skill to model that number of 3D characters. Even though I'm not using Unity as the game engine, it has an asset store with a huge library of 3D models that many of which match my desired art style. So, how about use the Unity art assets and just convert them into sprites for my game? I had no experience with Unity and I've got plenty of work to do without becoming a Unity expert, so I attempted the least amount of work possible to generate usable sprite sheets.
To generate the sprites from the 3D models, I found an asset called "Animation Baking Studio" for $24. As a test I found some free models that I'll likely replace in the future, but they're far better placeholders than the eyesores I had before.
My steps to produce a sprite sheet from a 3D model (written here for my own documentation just as much to help someone else!):
1. Create a new Unity project.

2. Wait for it to build...
3. Go to Window->Package Manager, under Packages select "My Assets". Import "Animation Baking Studio" and the desired art model.

4. Wait for the import...

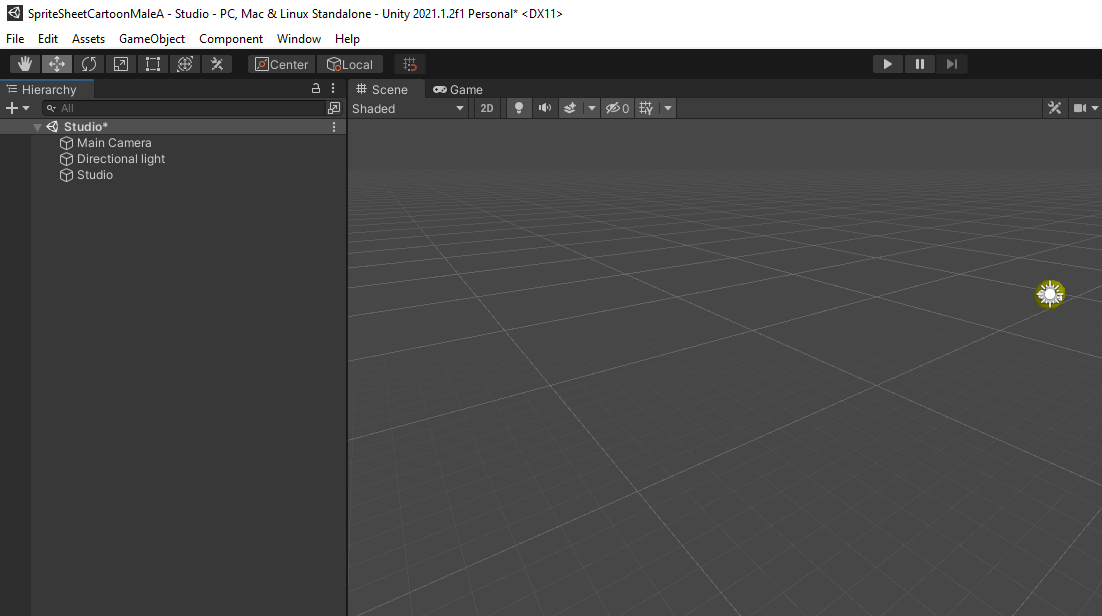
5. Navigate to Assets->AnimationBakingStudio in the Project, double click Studio. Studio will be selected in the Hierarchy.

6. Delete the sample models under the Hierarchy.
7. Navigate to the desired asset model, drag from the Project folder into the Hierarchy window.

8. Select the new art model in Hierarchy, in the Inspector on the side, click add Component and select "Mesh Model (Script)".
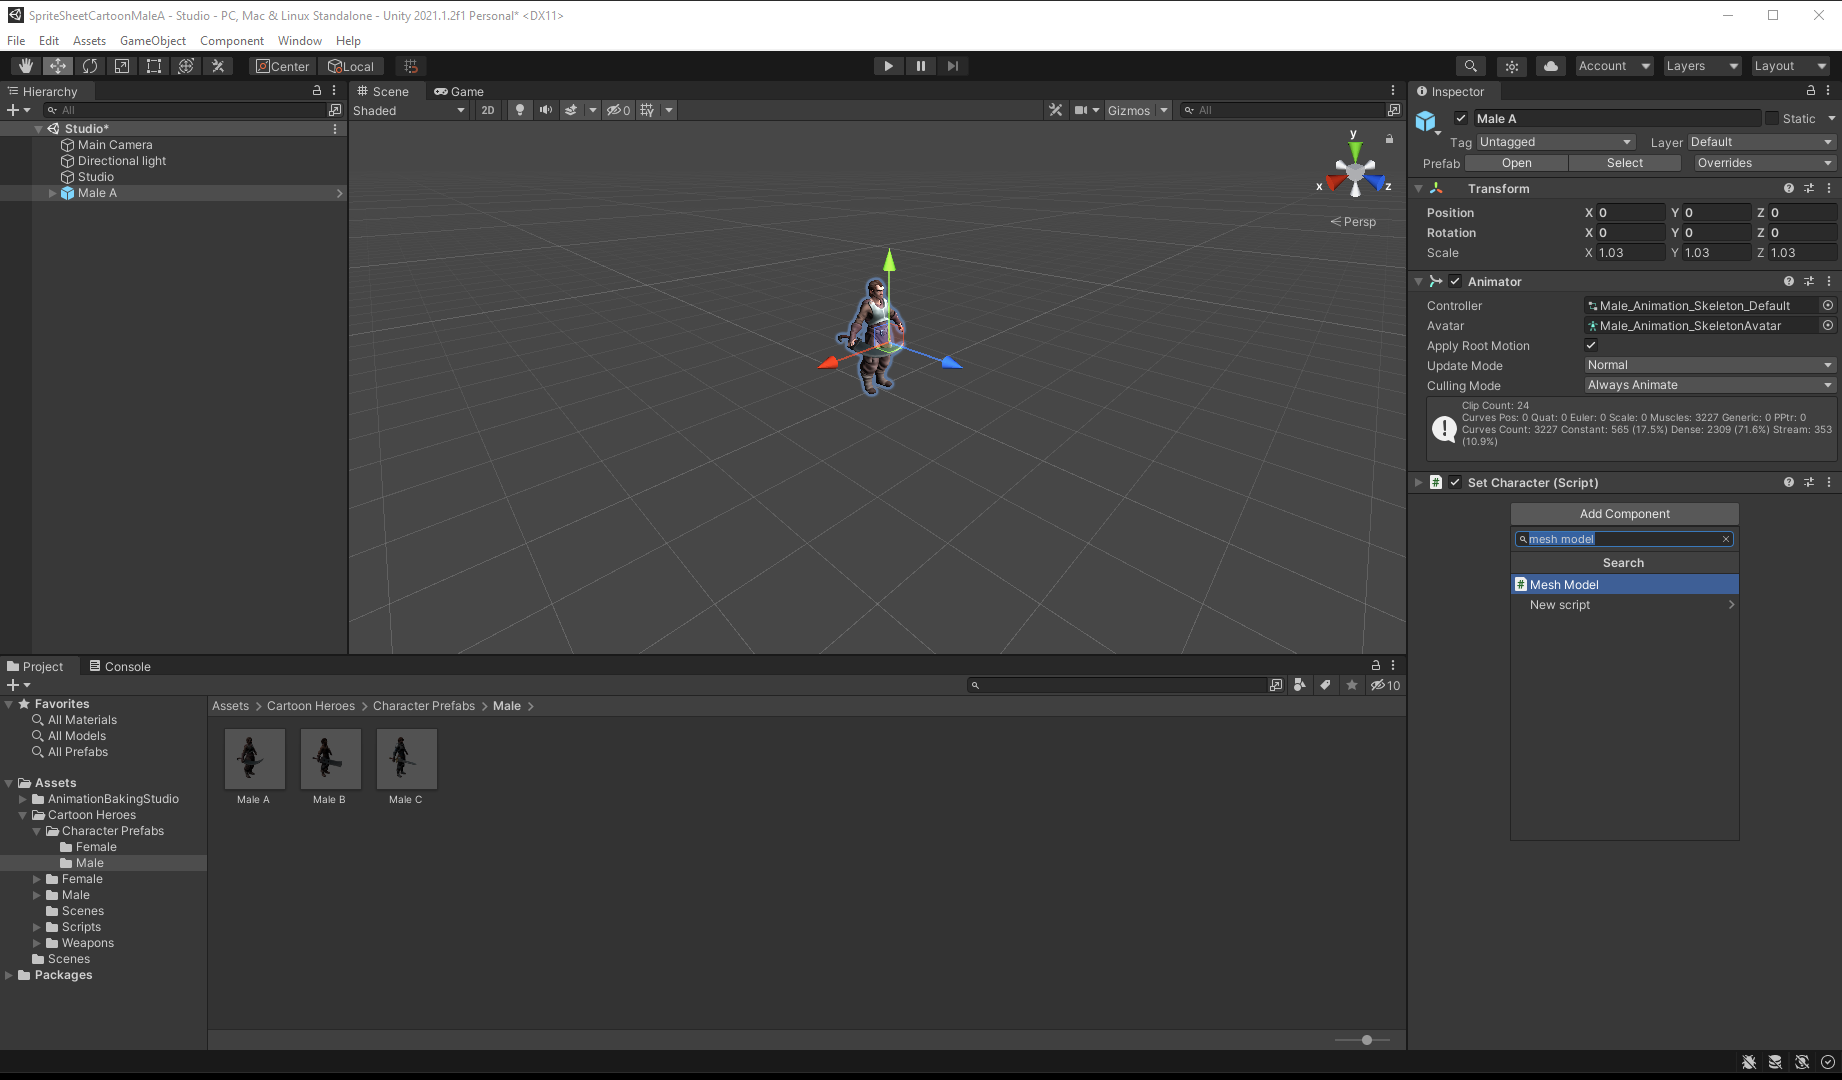
9. Drag all desired animations into Mesh Model (Script) Animations list. This is so the AnimationBakingStudio will know which animations to apply to the character.
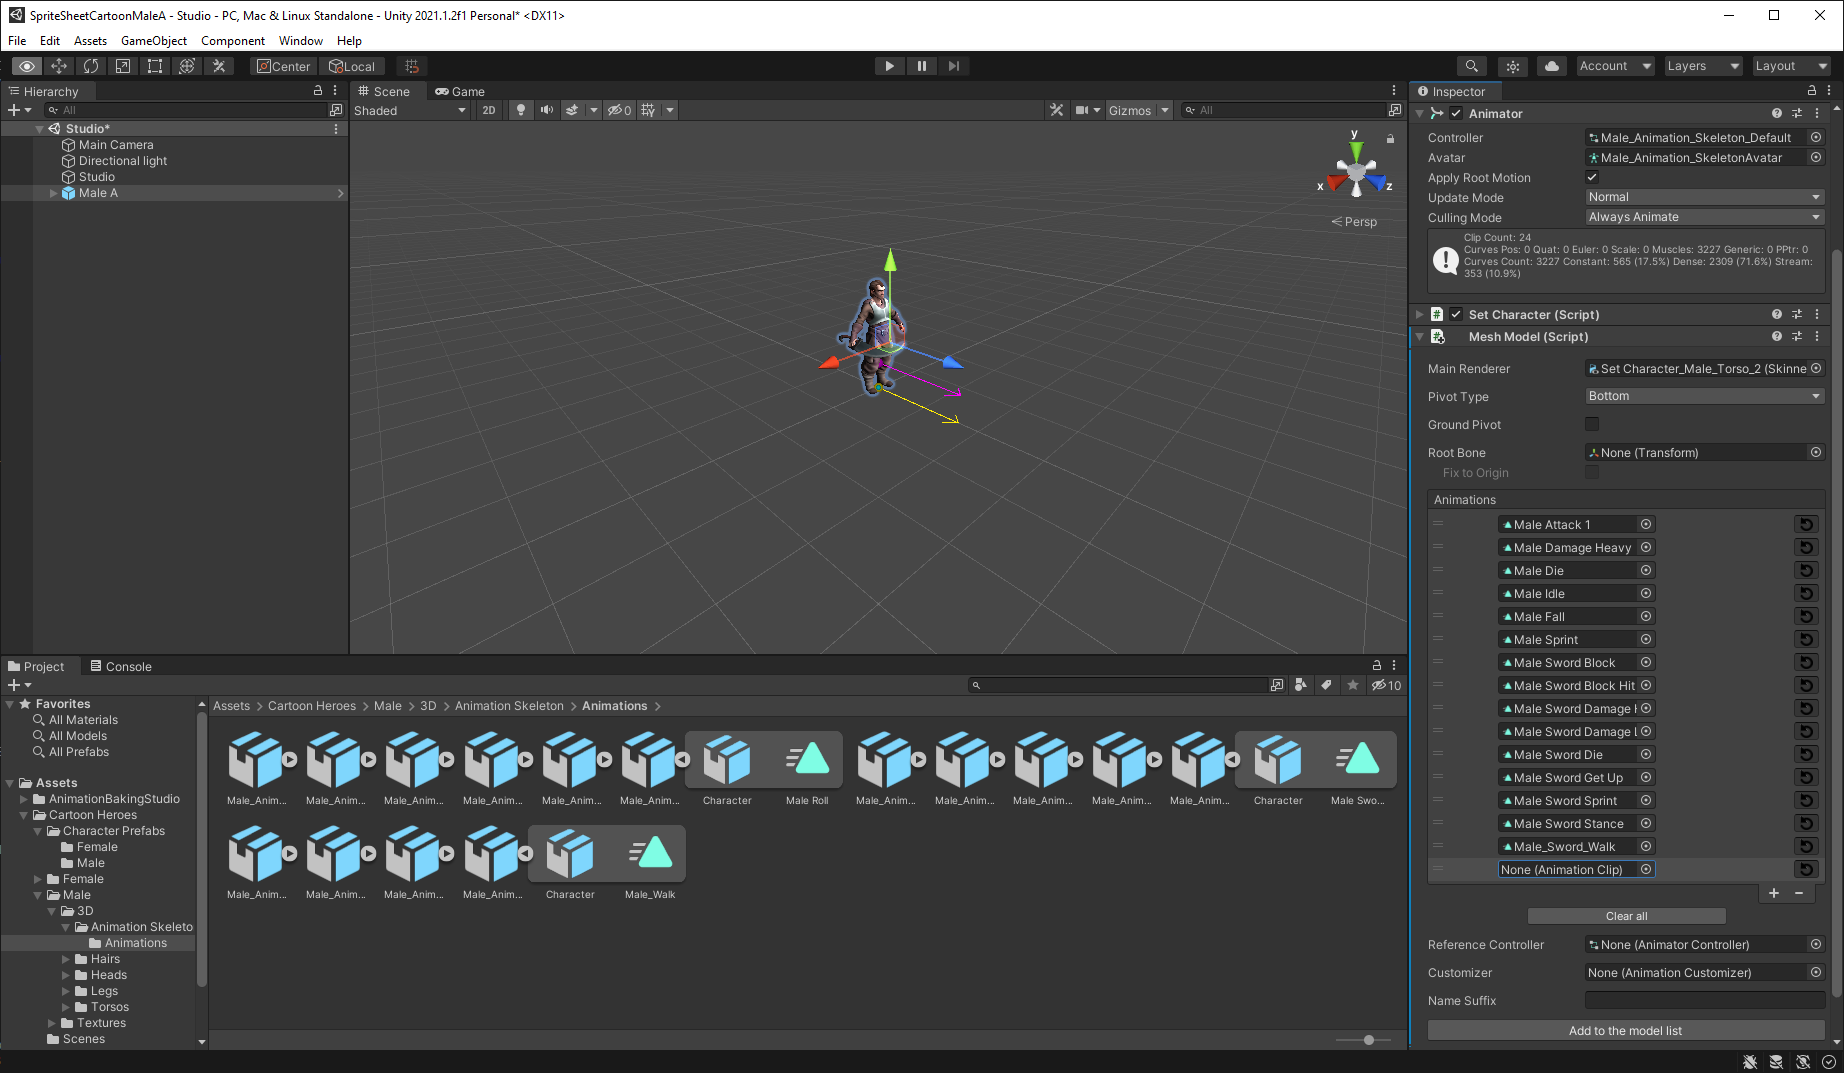
10. Select "Studio" under "Studio" in Hierarchy. In the Inspector "Models" section, drag the desired art asset in.

I'm still fine tuning the options to find what works best, but my current setup is as follows:
Main Camera:
Perspective, Field of View 60 deg
Relative Distance, 2
Directional Light: Directional light (Light)
Follow Camera Rotation Checked
Follow Camera Position Checked
Model Rotation:
View Slope Angle 30
Show Reference Tile Unchecked
View Size 8
Base Angle 0
Angles checked: 0, 45, 90, 135, 180, 225, 270, 315
Shadow Type:
None
Extractor:
DefaultExtractor
Apply Variation:
Unchecked
Show Preview:
Checked
Background Type: Checker
Resolution:
X: 150, Y: 150
Frame Size: 10
Simulate: 0
Delay: 0
Trim:
Unchecked
(Ensure Unified for All Frames is also Unchecked, otherwise a bug prevents it from generating the animations. Developer said they'll have the bug fixed in the next version though.)
Pack:
Unchecked
Make Animation Clip
Checked, Frame Rate 20, Interval 1
Make Animator Controller Unchecked
Make Prefab Unchecked
Generate Normal Map Unchecked
File Name Prefix: Empty
Output Directory: As Desired
11. Once the options have been entered, click "Bake all models".

12. And wait for the render...

13. When it's complete, navigate to the sprite sheet folder and enjoy!

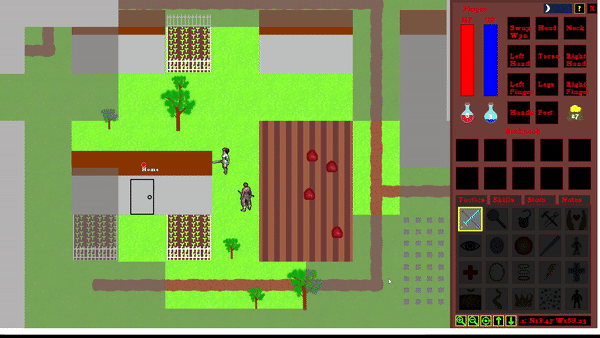
I made some modifications to how sprites are loaded in my game so I don't need to do any additional processing on the images. The game can load the Unity exported images as is; including even the files names. I still have some changes to make to support all the animation frames, but the proof of concept is overwhelming successful.

Again long term I'll likely not use these 3D art assets, but it's a gigantic step from where I was and now I've developed the process for potentially all future characters in the game.
There may be better ways to do this in Unity, but so far this has been the least amount of effort for greatest return I've found.
No comments:
Post a Comment