The parts for both ailerons...


Holes drilled for them...

Cut a slot for the mass balance arm to go through. It is bolted inside the aileron to the ribs on either side...

Test fitting the bolts for the mass balance arms with the ribs..


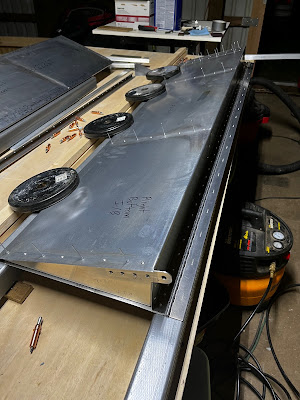
Positioning the hinge...

Hinge drilled...

Marking where to cut the excess piano hinge...

Piano hinge cut...

Cut the rod for the piano hinge and drilled 1/16" holes for future safety wire to keep the rod from sliding out...
Manufacturing the aileron horn...

One aileron horn drilled for mounts and a hole for the control attachment...

Mounted the horn to the side of the aileron... (these holes were enlarged later to their final size)

Drilled holes for the mass balance arms and test fitting them...

And now it's time to completely disassemble the entire thing to deburr and prime...

Including deburring and priming the skins...

Got the bolts for the mass balance arm attached within the aileron to be (hopefully) permanent...


Reassembling the entire aileron...

And began riveting...

More riveting...

Flipped over, more riveting...

And more...
Rivets looking good!

Then the entire process is repeated for the other aileron...


And both ailerons complete!

No comments:
Post a Comment