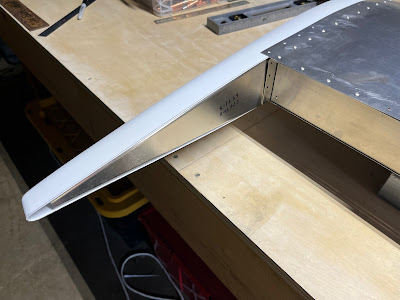
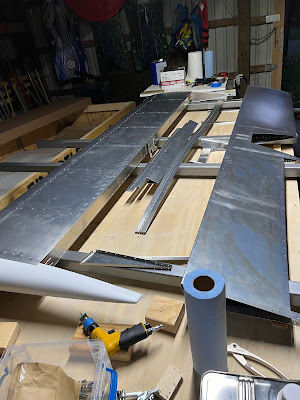
The horizontal stabilizer was constructed, but now it needs the elevator attached.
The parts as delivered by the kit...
The parts' edges were softened then placed within the skin...
Looking good...
Looking real good with that elevator...
Close up of the elevator horn...
And drilling the holes for the doubler between the upper and lower elevator horns..
Getting clean, aligned holes through the elevator horns and doublers was a giant pain...
And adding in a reinforcement tab to the doubler within the skin...
Additional reinforcement strips near the elevator horn to help stiffen the area...
Drilling the trim tab piano hinge...
And to the trim tab itself...
Adding a reinforcement piece (that will be under the skin at the trim motor)...
The trim motor...
Trim motor from above with reinforcement strip...
Trim motor in place...
Looks almost done, doesn't it?
Which means it's time to disassemble the entire thing to add corrosion protection...
It had been raining for a solid week with another week of rain in the forecast, but the Cortec primer needs a spread between temperature and dewpoint. Bringing the pieces in the house where it's not 100% humidity to prime... (The smell was lovely.)
Also before riveting, drilling holes for safety wires to keep the rods within the piano hinges...
The inner portion of the elevator riveted before the skin is wrapped over it...
Cleco it all back together...
And begin riveting..
Trim motor riveted...
The elevator horn connection...
Looks great!
Next up are the wings! The flap parts have been pulled out and prep work has begun on them.


